How to Install OSMC and Kodi 17 on Raspberry
With the guide below you will be able to install Kodi 17 and OSMC on your Raspberry Pi. This should work on Pi Zero, 1, 2 & 3. In this guide I will be using the Pi 3 but it is basically the same process for all.
Requirements:
- Raspberry Pi
- Power Source for Pi
- A box for your Pi to keep it safe
- Micro SD Card (16GB+)
- Micro SD Card Adaptor
- Latest version of OSMC on your computer (macOS/Windows/Linux)
- HDMI Cable
- USB Keyboard or remote control with wireless dongle (you can get these dirt cheap on eBay or Amazon).
- Assemble your Pi and Box and insert your bluetooth dongle if you are using a bluetooth keyboard so it is ready.
- Insert your SD Card into the SD Card Adaptor and insert it into your computer. Format it if necessary
- Go to the OSMC Download site and download the OSMC that is applicable to you

- Install the OSMC file you have just downloaded on your computer
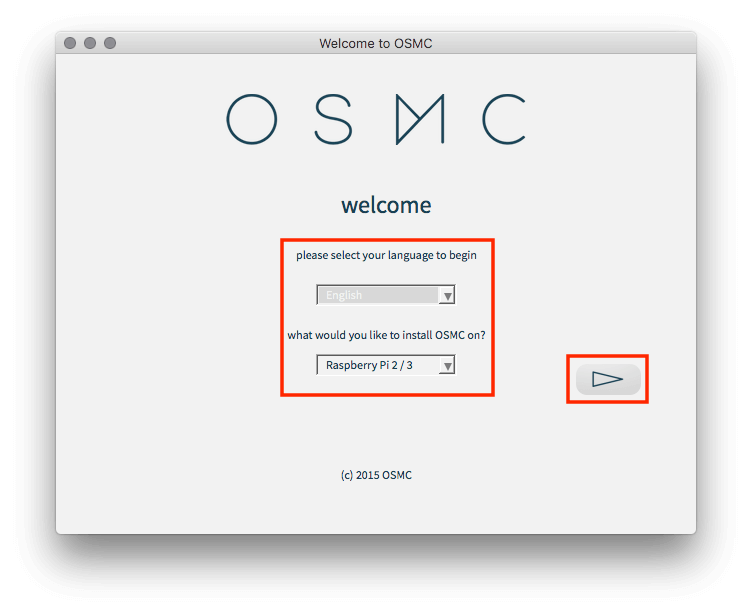
- Open the OSMC Installer and then select your language (only English is showing for me, not sure if that is because it is my default system language or because that is all that is available) and the type of device you will be installing on. Then click the Continue Arrow
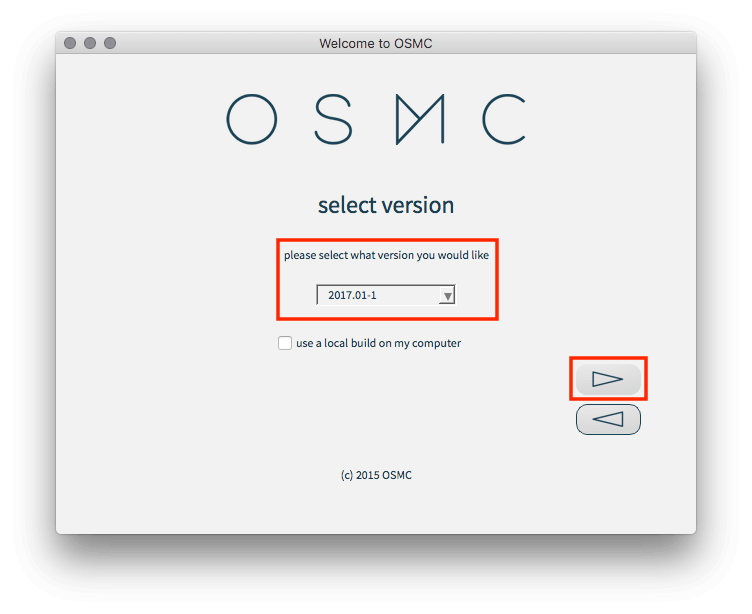
- In the next Window choose the latest version which at the time of writing is 2017.01-1 and click the Continue Arrow Again
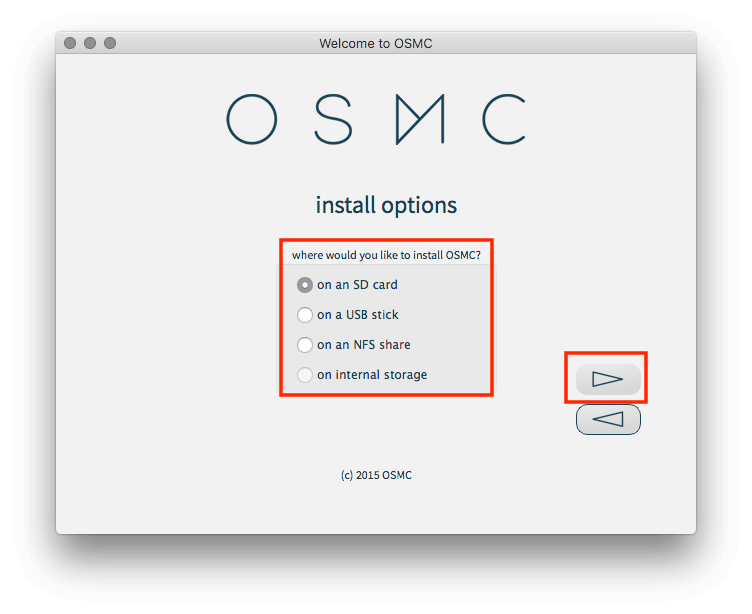
- As we are using an SD Card select SD Card in the next window and click the Continue Arrow Again
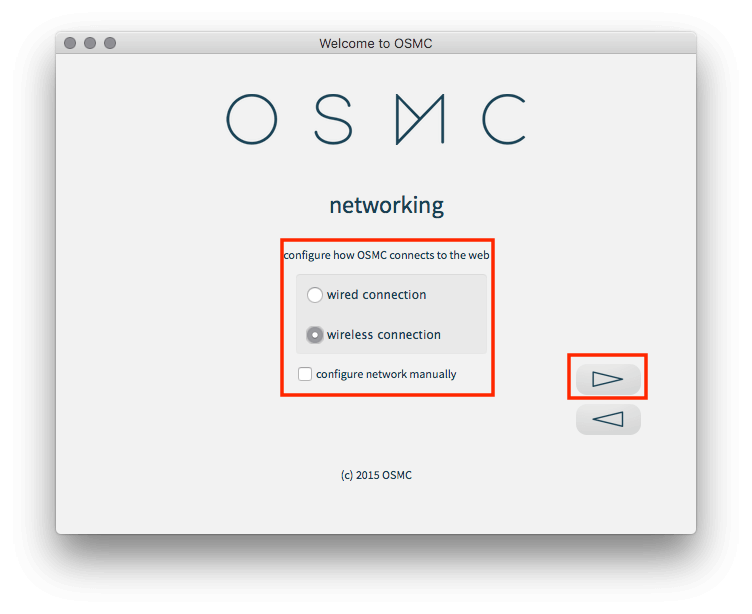
- In the next screen you have the choice of Wi-Fi/Ethernet/Manual networking. If you are going to connect the device via wifi Select Wireless, if using ethernet then select Wired if you want to set it up manually then select Configure Network Manually and click the Continue Arrow Again
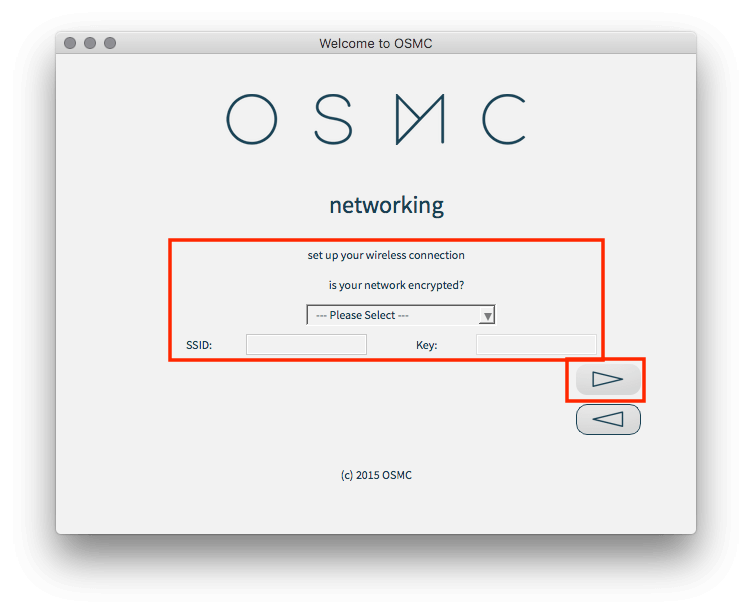
- I am using Wi-Fi so in the next screen I will have to enter my network encryption, SSID and password. If you select Wired then we we will get to the screen after the screen that is below so skip this image and move on to that step. If you select setup manually you will have to enter IP, Mask, GW, DNS. and click the Continue Arrow Again
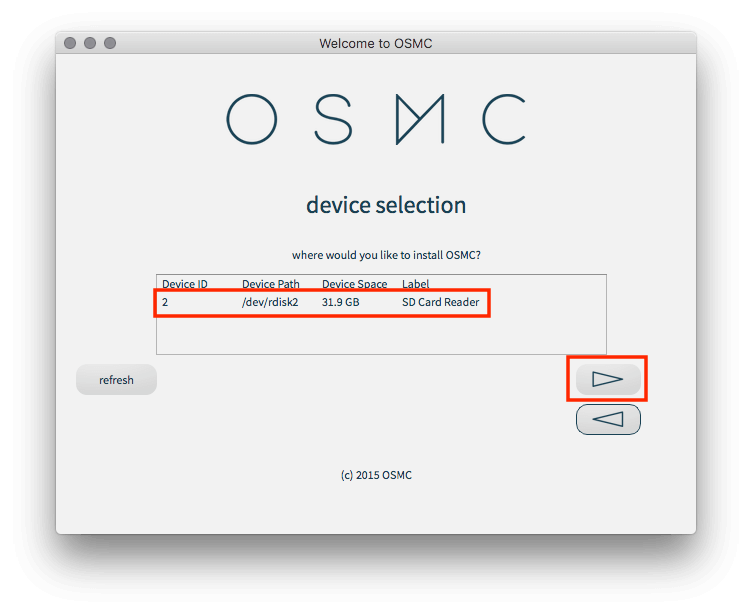
- In the next screen you will be asked where you want to install OSMC. Select your SD Card and click the Continue Arrow Again
- Accept the End User License Agreement
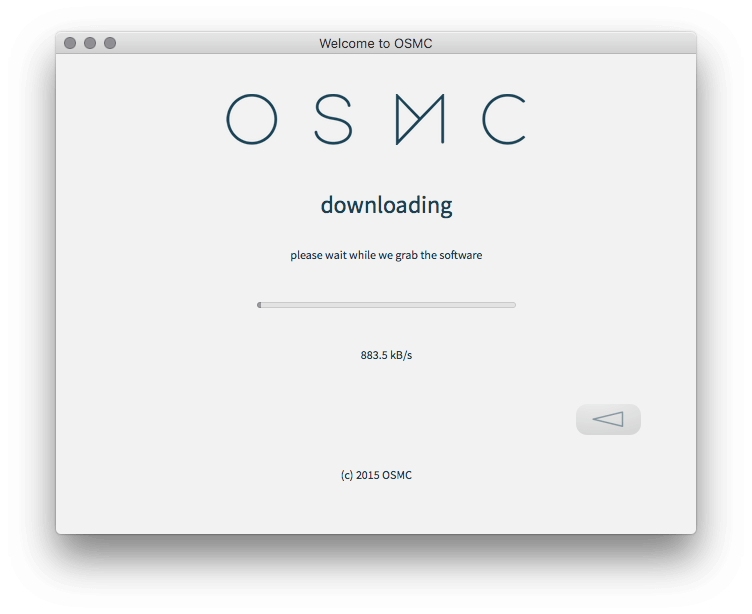
- OSMC will now start to download and when it finishes it will begin to install
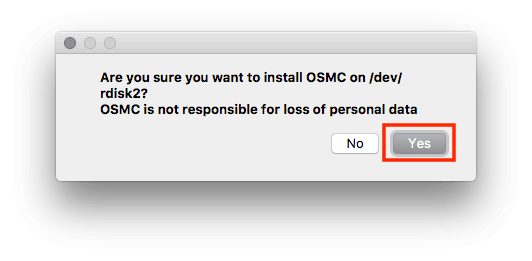
- Before it installs you will be asked "Are you sure you want to install OSMC..." select Yes
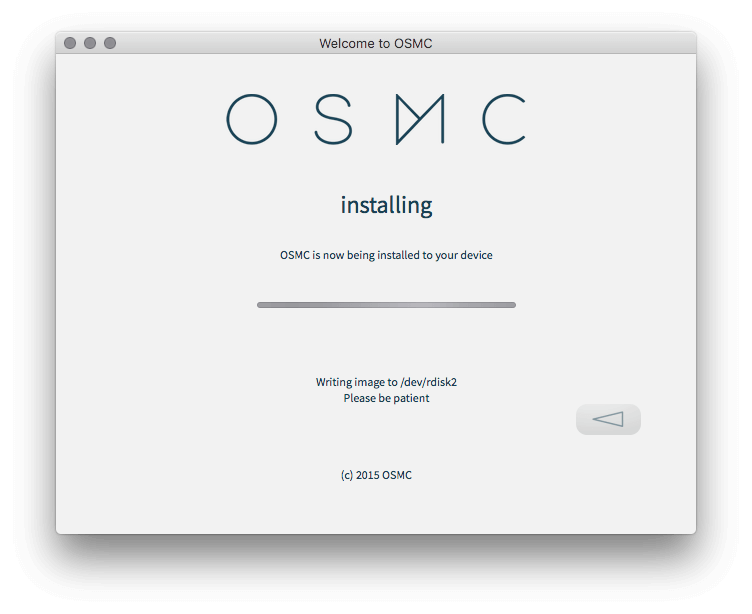
- OSMC will begin to install on your SD Card
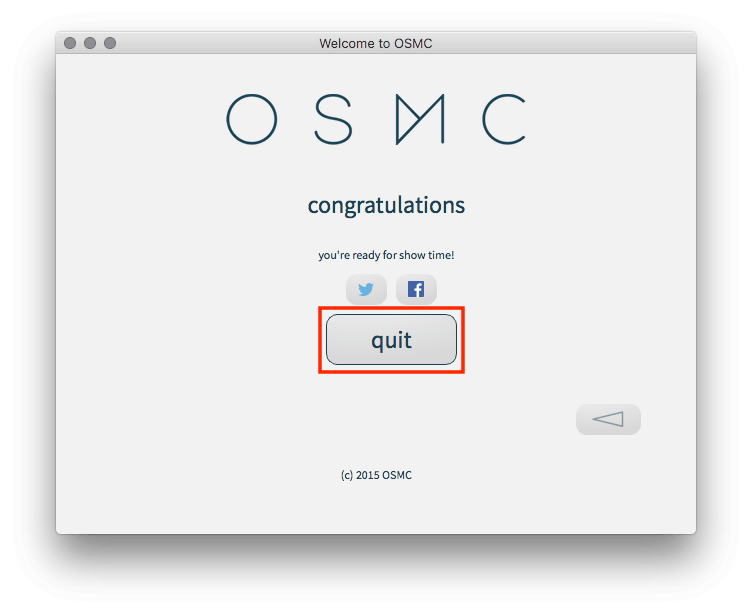
- When it has finished click Quit
- Eject your SD Card
- Plug your Pi Box in
- Insert the SD Card in the SD Card slot on your Pi
- OSMC will now start to install on your Pi.
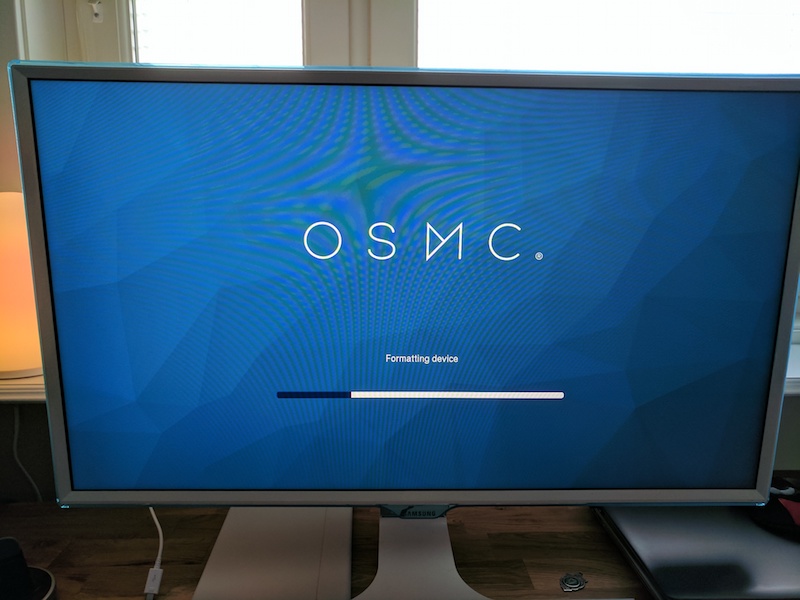
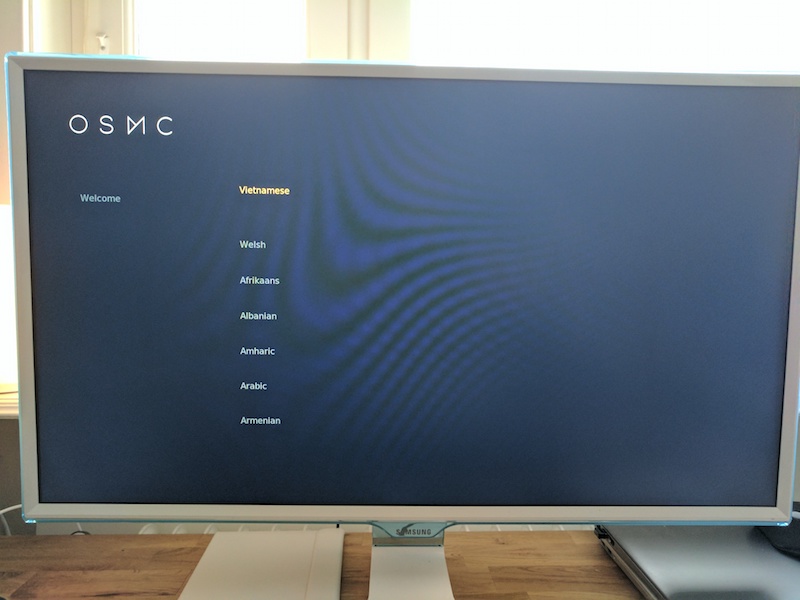
- You will have to wait a few minutes for the process to finish. When it does you will be asked to choose your language and then your time zone.
- You will be asked to give your device a name. If you are only going to have 1 OSMC device on your network just leave it as it is and select Accept
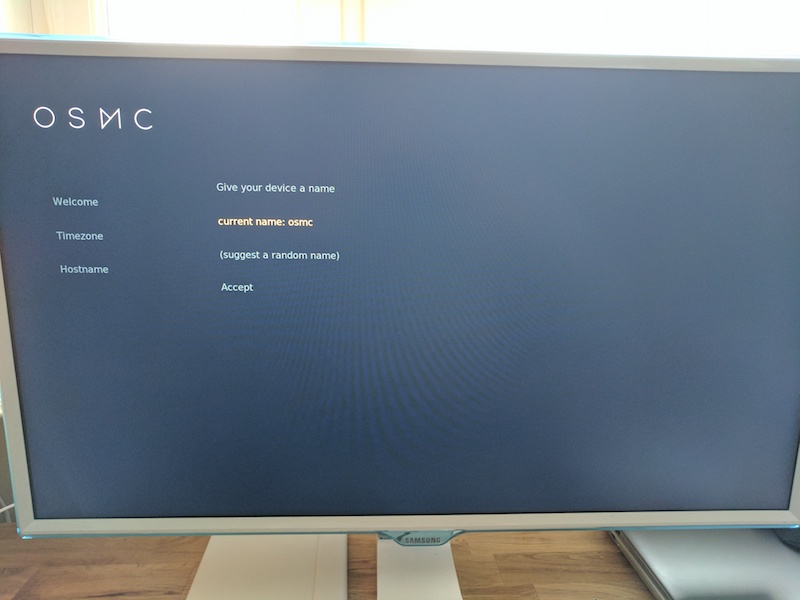
- Enable SSH service (enabled by default) if you will be using your terminal to SSH into your device and select Accept
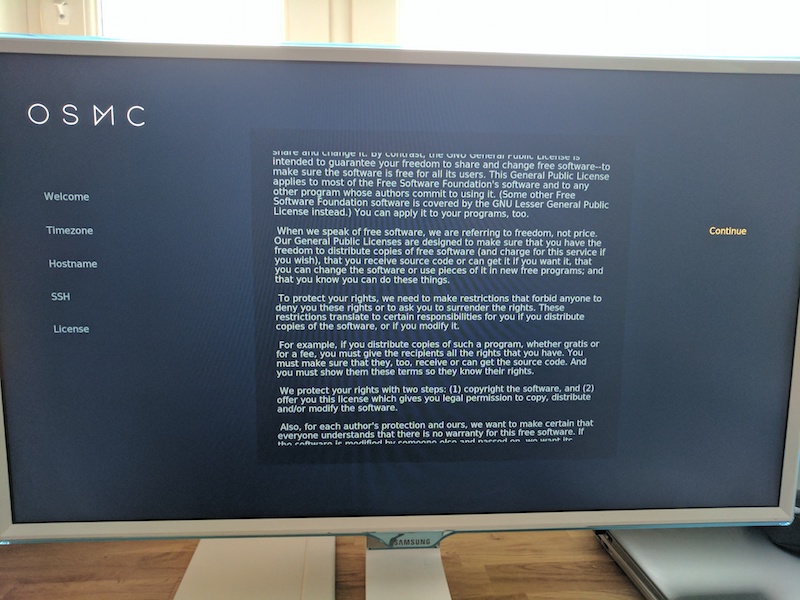
- Click Continue when the license blurb appears
- You will now see the following screen where you can choose the appearance
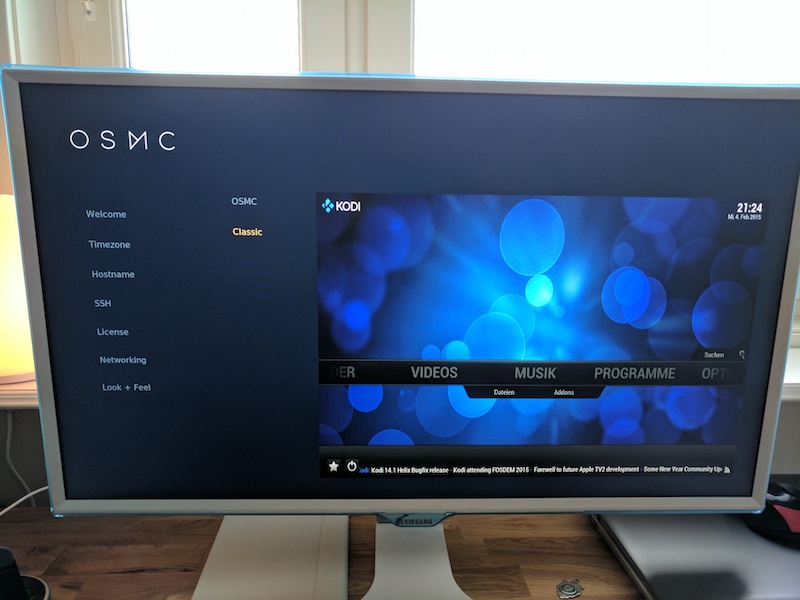
You should now be running Kodi 17 on your OSMC device


No comments:
Post a Comment