Selling fully loaded Kodi boxes with Kodi addons or apps like showbox, mobdro, isillegal in the EU. It is illegal to modify set-top boxes to receive digital TV subscription channels for free. Selling devices which bypass subscription services, to access pay-to-view TV, including movies and sports is against the law.
Are Kodi boxes legal in the UK? How authorities are cracking down on 'plug and play' piracy
ales of Kodi boxes have skyrocketed in the UK, with large numbers of Brits using the devices to watch premium pay TV channels, live sports and films without forking out for costly subscription packages.
But with the news this week that five people have been arrested for selling "fully loaded" Kodi boxes, many people are asking whether they could get in trouble for owning a Kodi box.
It's a thorny issue, as while Kodi boxes are not themselves illegal, they can enable users to illegally stream content to their TV.
We spoke to the UK Federation Against Copyright Theft (FACT), a trade organisation established to protect and represent the interests of intellectual property, to help clarify things.
What is Kodi?
Kodi is a free media player that can run on any computer, smartphone, tablet or set-top box, allowing users to stream films and TV programmes over the internet.
A "Kodi box" is a set-top box or HDMI stick with the Kodi media player pre-installed on it.
Is it legal?
The software itself is not illegal, nor is it illegal to sell devices with Kodi pre-installed on them.
However, many of these Kodi devices come pre-loaded with third party plug-ins and add-ons that allow users to stream pirated content to their TV.
Selling these "fully loaded" TV set-top devices is a breach of the Copyright, Designs and Patent Act 1988.
Individuals involved in this crime may also be breaking the Fraud Act, and be charged with Money Laundering offences, according to FACT.
Who is the crackdown targeting?
The latest crackdown by FACT, Greater Manchester Police, City of London Police and the Intellectual Property Office (IPO) is targeting those involved in the sale and distribution of these illegal "fully loaded" devices.
FACT's priority is to "disrupt and combat individuals manufacturing, importing, selling and re-selling these illegal devices".
Tuesday, 14 February 2017
How to Install OSMC and Kodi 17 on Raspberry
How to Install OSMC and Kodi 17 on Raspberry

With the guide below you will be able to install Kodi 17 and OSMC on your Raspberry Pi. This should work on Pi Zero, 1, 2 & 3. In this guide I will be using the Pi 3 but it is basically the same process for all.
Requirements:
- Raspberry Pi
- Power Source for Pi
- A box for your Pi to keep it safe
- Micro SD Card (16GB+)
- Micro SD Card Adaptor
- Latest version of OSMC on your computer (macOS/Windows/Linux)
- HDMI Cable
- USB Keyboard or remote control with wireless dongle (you can get these dirt cheap on eBay or Amazon).
- Assemble your Pi and Box and insert your bluetooth dongle if you are using a bluetooth keyboard so it is ready.
- Insert your SD Card into the SD Card Adaptor and insert it into your computer. Format it if necessary
- Go to the OSMC Download site and download the OSMC that is applicable to you

- Install the OSMC file you have just downloaded on your computer
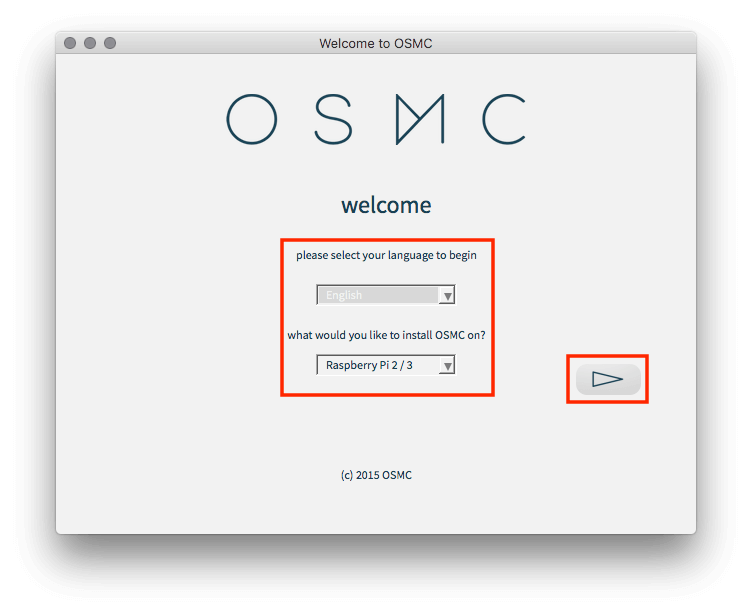
- Open the OSMC Installer and then select your language (only English is showing for me, not sure if that is because it is my default system language or because that is all that is available) and the type of device you will be installing on. Then click the Continue Arrow
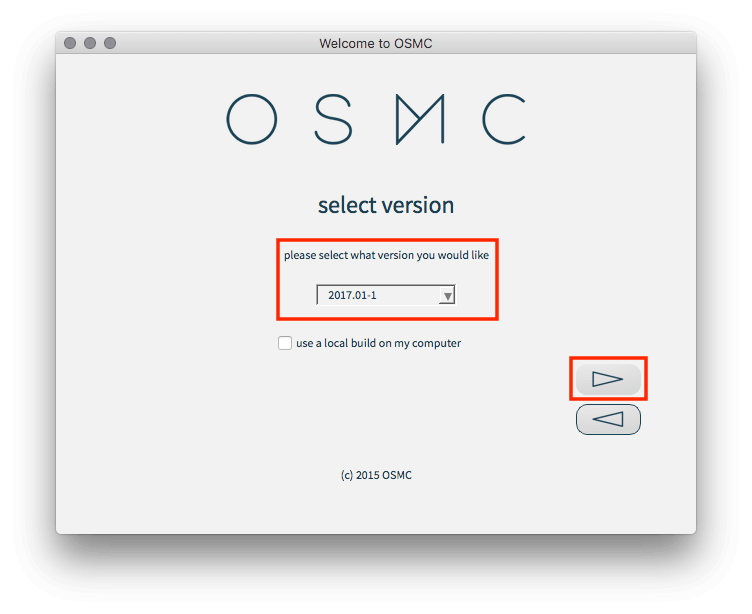
- In the next Window choose the latest version which at the time of writing is 2017.01-1 and click the Continue Arrow Again
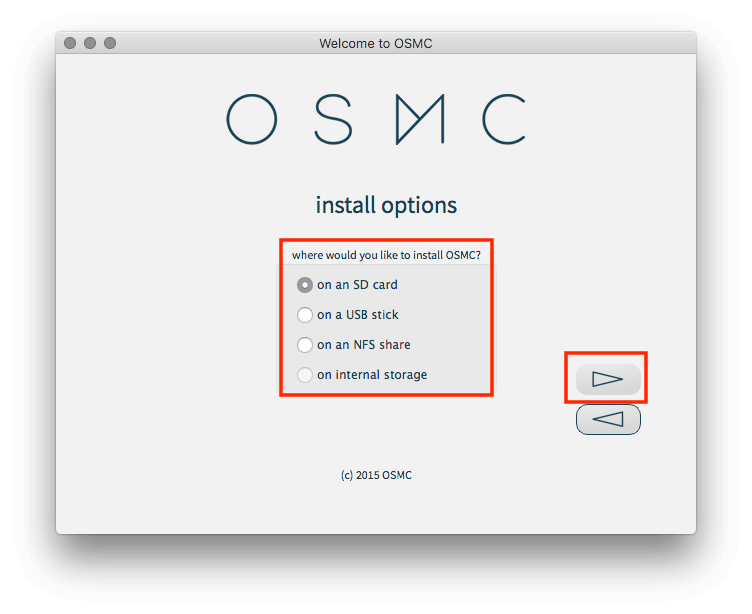
- As we are using an SD Card select SD Card in the next window and click the Continue Arrow Again
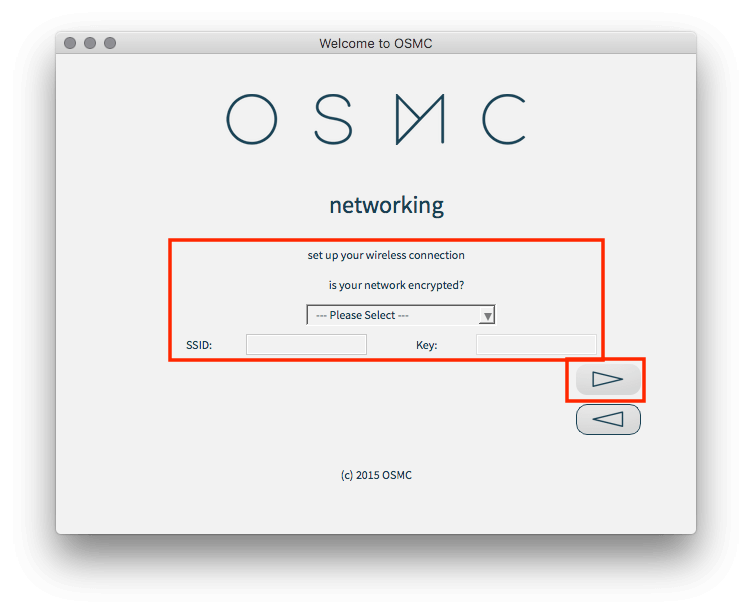
- In the next screen you have the choice of Wi-Fi/Ethernet/Manual networking. If you are going to connect the device via wifi Select Wireless, if using ethernet then select Wired if you want to set it up manually then select Configure Network Manually and click the Continue Arrow Again
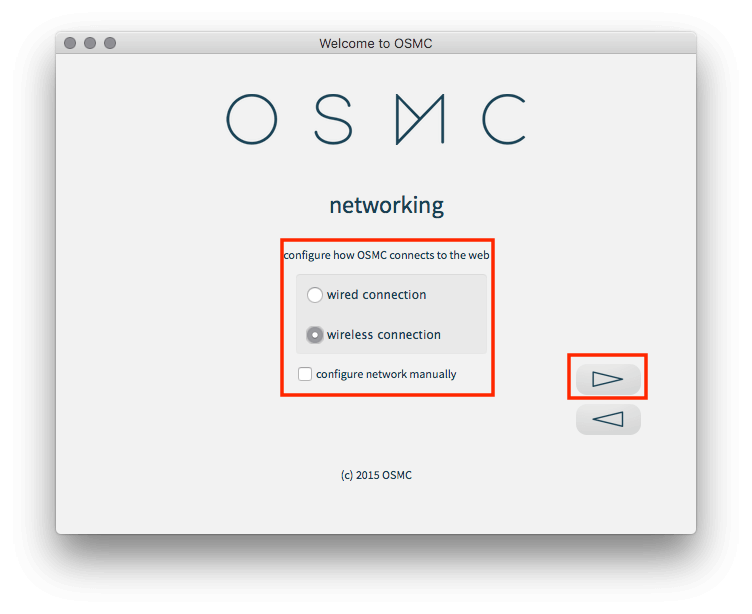
- I am using Wi-Fi so in the next screen I will have to enter my network encryption, SSID and password. If you select Wired then we we will get to the screen after the screen that is below so skip this image and move on to that step. If you select setup manually you will have to enter IP, Mask, GW, DNS. and click the Continue Arrow Again
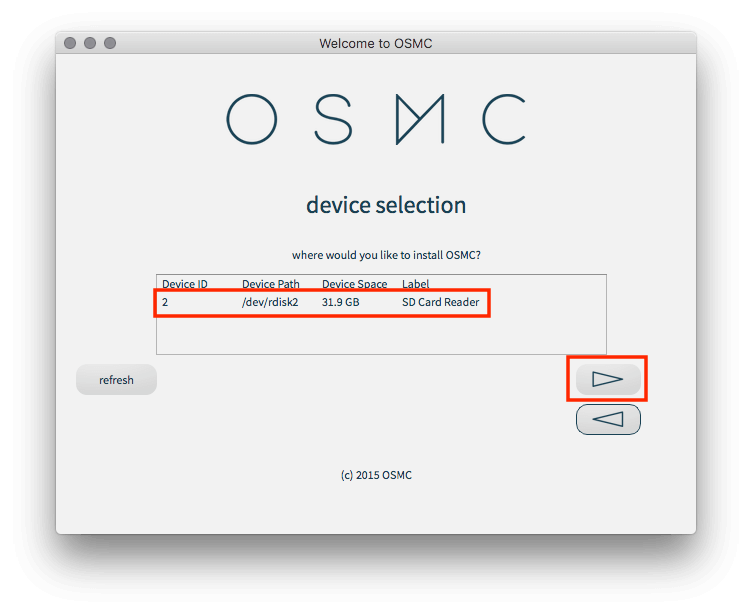
- In the next screen you will be asked where you want to install OSMC. Select your SD Card and click the Continue Arrow Again
- Accept the End User License Agreement
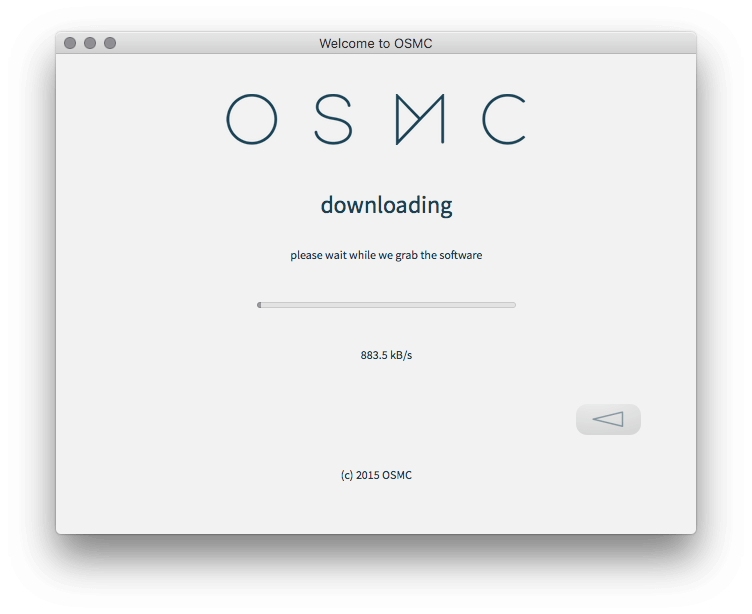
- OSMC will now start to download and when it finishes it will begin to install
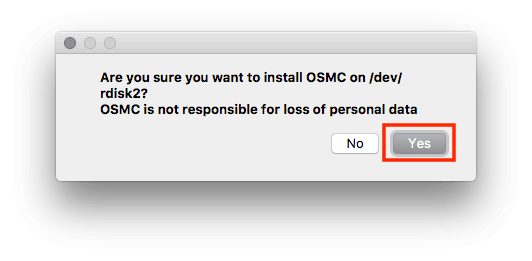
- Before it installs you will be asked "Are you sure you want to install OSMC..." select Yes
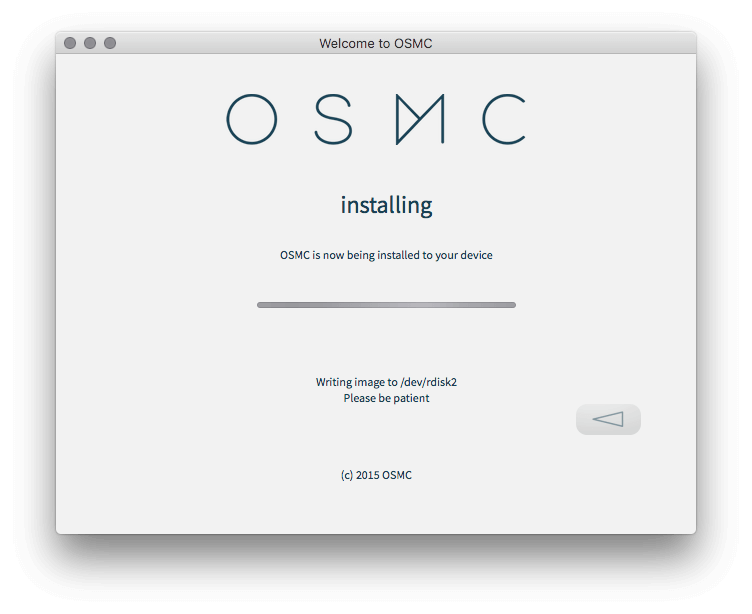
- OSMC will begin to install on your SD Card
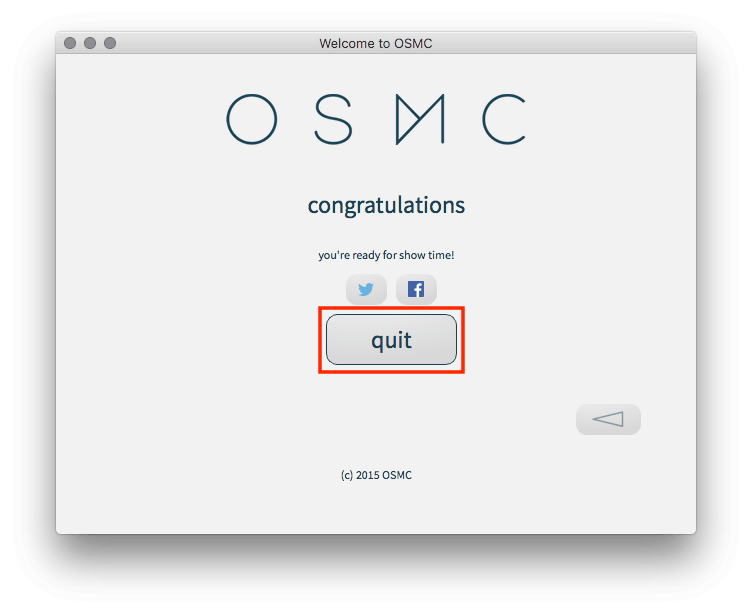
- When it has finished click Quit
- Eject your SD Card
- Plug your Pi Box in
- Insert the SD Card in the SD Card slot on your Pi
- OSMC will now start to install on your Pi.
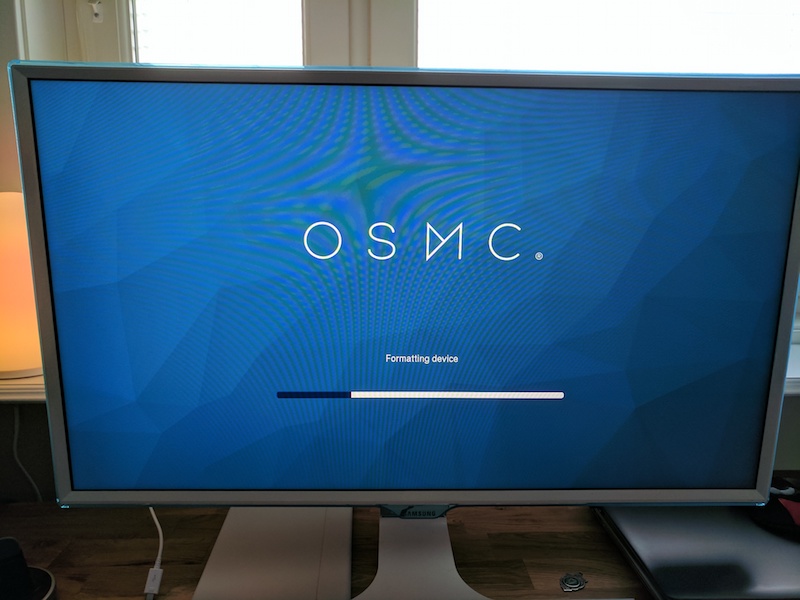
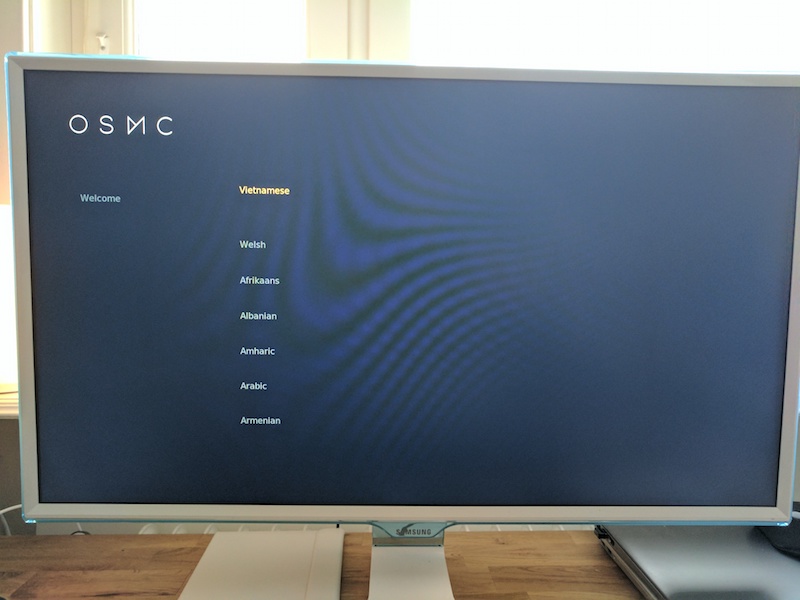
- You will have to wait a few minutes for the process to finish. When it does you will be asked to choose your language and then your time zone.
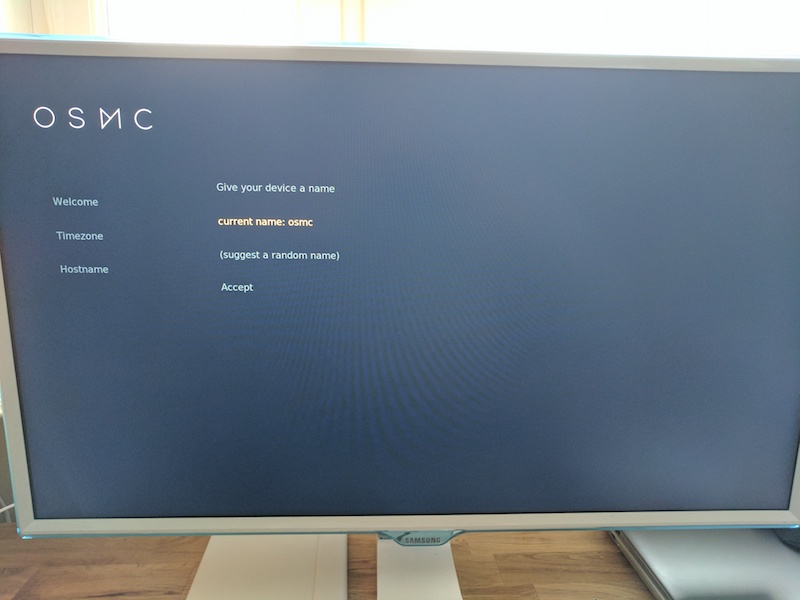
- You will be asked to give your device a name. If you are only going to have 1 OSMC device on your network just leave it as it is and select Accept
- Enable SSH service (enabled by default) if you will be using your terminal to SSH into your device and select Accept
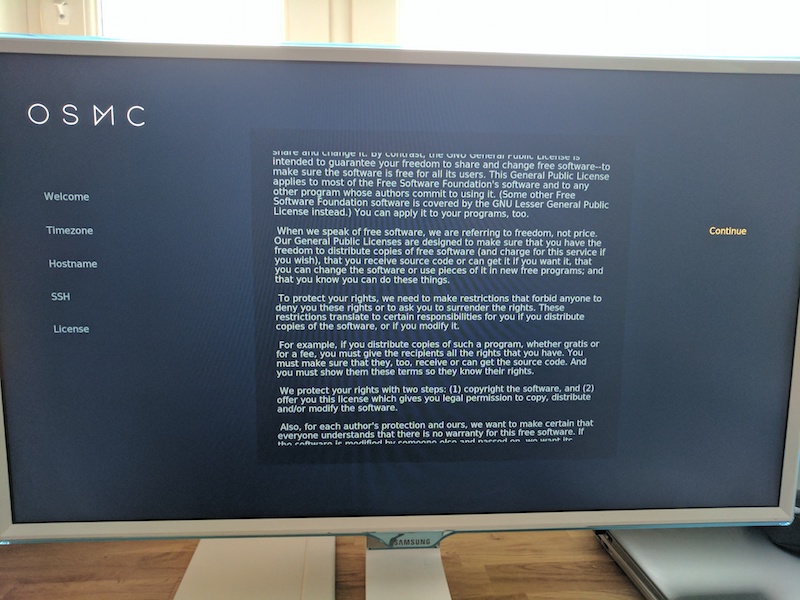
- Click Continue when the license blurb appears
- You will now see the following screen where you can choose the appearance
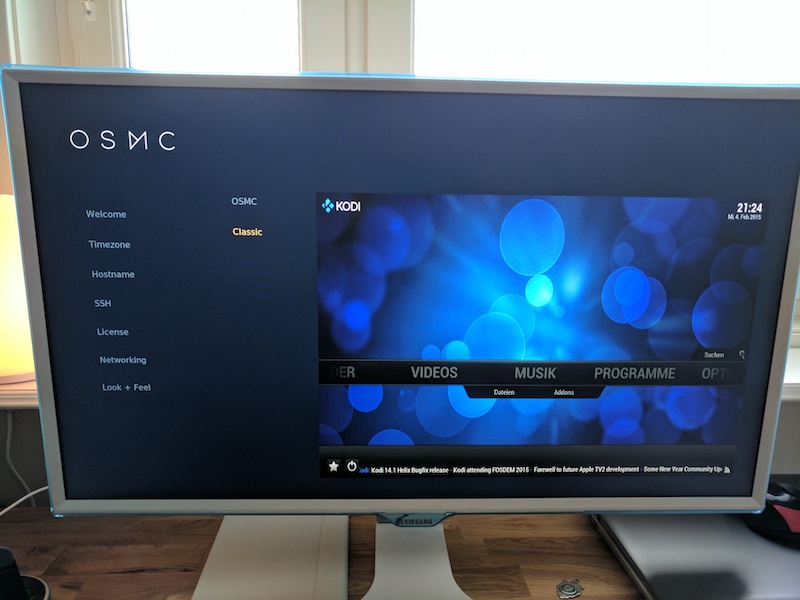
You should now be running Kodi 17 on your OSMC device
Friday, 13 January 2017
How to Install Ares Wizard Kodi
How to Install Ares Wizard Kodi

The Ares Wizard allows you to install a large number of builds and also has an add-on installer. Other features include maintenance & backup.
This add-on is not supported by the Kodi Team or the XBMC foundation. Please do not post questions on the forum.kodi.tv website relating to this add-on. Join the Ares Forums to get support for this add-on.
To Install Ares Wizard:
- Open Kodi
- Select SYSTEM > File Manager
- Select Add Source
- Select None
- Type the following EXACTLY http://areswizard.co.uk and select Done
- Highlight the box underneath Enter a name for this media Source, type ares and select OK
- Go back to your Home Screen
- Select SYSTEM
- Select Add-Ons
- Select Install from zip file
- Select ares
- Select script.areswizardx.x.xx.zip
- Wait for Add-on enabled notification
The Ares Wizard is now installed and can be accessed via the PROGRAMS (or Apps) menu from your home screen
How to Install Fusion Kodi
How to Install Fusion Kodi
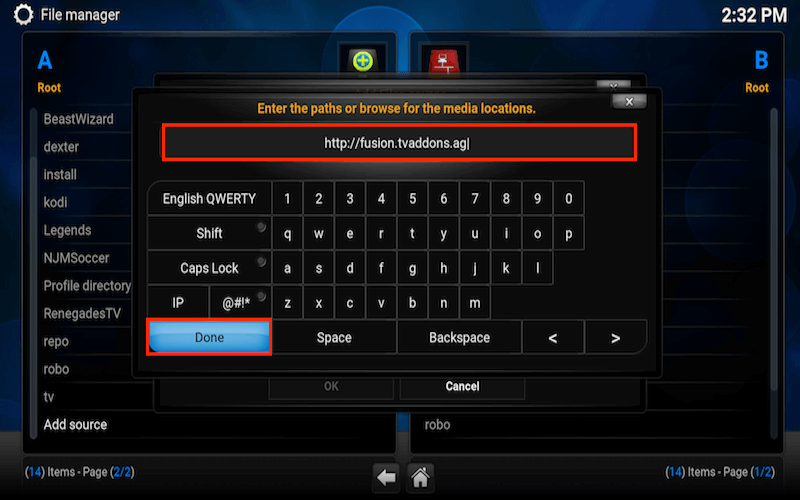
Here is a guide for installing Fusion for Kodi. With Fusion installed you will have access to a wide range of repos from which you can install all the add-ons you need.
This is a 3rd party add-on that is not supported by the Kodi Team. Do not post questions relating to this add-on on the Kodi Forums (forums.kodi.tv). Use the TVAddons forum for updates and help
To Install Fusion Kodi:
- Open Kodi
- Select SYSTEM > File Manager
- Select Add Source
- Select None
- Type the following EXACTLY http://fusion.tvaddons.ag and select Done
- Highlight the box underneath Enter a name for this media Source & type fusion
- Select OK
- That is basically it. Fusion is now available on your device. If you want to install repos/add-ons from fusion you would now do the following
- Go back to your Home Screen
- Select SYSTEM
- Select Add-Ons
- Select Install from zip file
- Select fusion
- Select kodi-repos
- Select english/international/adult
From here you can now choose the repo's you wish to install
How to Install Pulse CCM Build Kodi
How to Install Pulse CCM Build Kodi
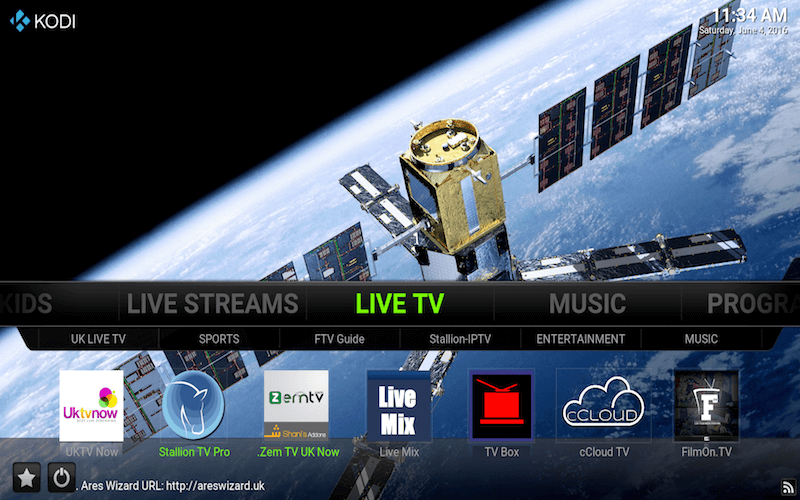
The Pulse CCM build appears to be a very popular build on the Ares Wizard so thought I would take a look at it and give a few screenshots for anyone wanting to know what it looks like; it's not a review as I don't do reviews.
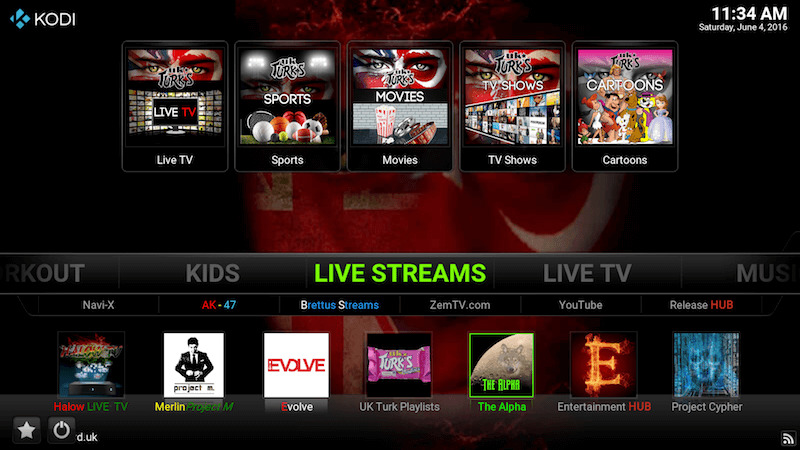


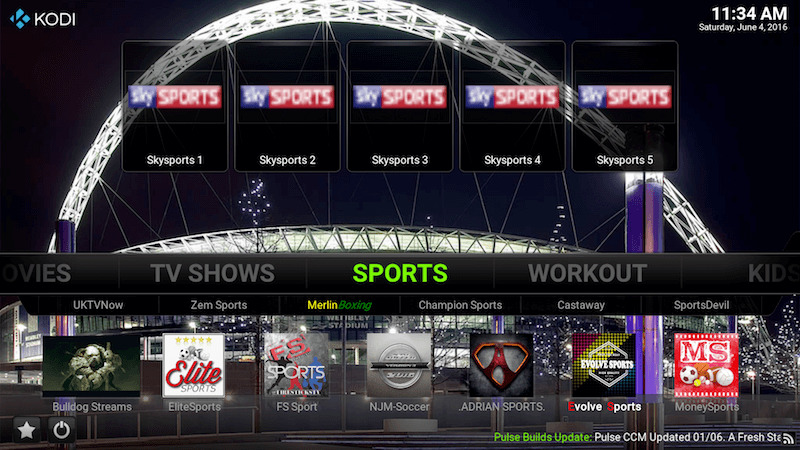
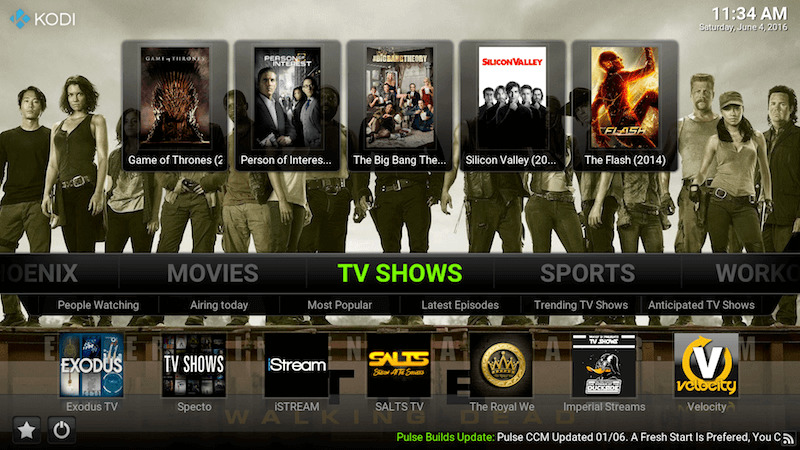
To Install Pulse CCM Build:
- Do a fresh install of Kodi as builds always work better when nothing else is installed
- This build requires a PIN. Get the PIN from here
- Open Kodi
- Select SYSTEM > File Manager
- Select Add Source
- Select None
- Type the following EXACTLY http://areswizard.co.uk and select Done
- Highlight the box underneath Enter a name for this media Source, type ares and select OK
- Go back to your Home Screen
- Select SYSTEM
- Select Add-Ons
- Select Install from zip file
- Select ares
- Select script.areswizardx.x.xx.zip
- Wait for Add-on enabled notification
- Go back to your Home Screen
- Select PROGRAMS
- Select Ares Wizard
- Select Browse Builds
- Select Pulse
- Select Enter Pin and enter the PIN you got in the very first step
- Enter 4 Digit PIN
- Select Pulse CCM (or any of the other Pulse Builds)
- Select Install
- The build will start to download
- The build files will then extract
- You will be asked if you would like to backup your skin/profile but as it is best to install a build using a fresh start I would select no as there is nothing to backup
- Select OK when the Kodi Force Close prompt appears
- When you launch Kodi you will see 2 profiles. Select CCM and the CCM profile will load
Subscribe to:
Comments (Atom)
